
- Console settings and factory default configuration
Use Putty for console access- Bits per second: 9600
- Data bits: 8
- Parity: None
- Stop bits: 1
- Flow control: None
factory default:
# config t
# config factoty-default (hit the space bar when “more” is prompted)
# reload save-config noconfirm
The default factory configuration for the ASA 5505 adaptive security appliance configures the following:
- An inside VLAN 1 interface that includes the Ethernet 0/1 through 0/7 switch ports. If you did not set the IP address in the configure factory-default command, then the VLAN 1 IP address and mask are 192.168.1.1 and 255.255.255.0.
- An outside VLAN 2 interface that includes the Ethernet 0/0 switch port. VLAN 2 derives its IP address using DHCP.
- The default route is also derived from DHCP.
- All inside IP addresses are translated when accessing the outside using interface PAT.
- By default, inside users can access the outside, and outside users are prevented from accessing the inside.
- The DHCP server is enabled on the ASA, so a PC connecting to the VLAN 1 interface receives an address between 192.168.1.2 and 192.168.1.254.
- The HTTP server is enabled for ASDM and is accessible to users on the 192.168.1.0 network.
- By default no enable password is configured. Hit “Enter” key at the prompt
- Traditionally, a firewall is a routed hop and acts as a default gateway for hosts that connect to one of its screened subnets. A transparent firewall, on the other hand, is a Layer 2 firewall that acts like a “bump in the wire,” or a “stealth firewall,” and is not seen as a router hop to connected devices. The security appliance connects the same network on its inside and outside ports. Because the firewall is not a routed hop, you can easily introduce a transparent firewall into an existing network; it is unnecessary to re-address IP.Firewall mode has t be decided and configure first and foremost because changing it, will remove any previous configuration.Some initial configuration that has to be done through console and using command line:# show running-config firewall transparent
hostname XXXX
ip address 208.x.x.x 255.255.252.0
passwd XXXX encrypted
interface Vlan1
nameif inside
security-level 100
!
interface Vlan2
nameif outside
security-level 0
!
interface Ethernet0/0
switchport access vlan 2
!
route outside 0.0.0.0 0.0.0.0 208.x.x.x 1
- Type https://<Management_IP> in a browser.Click on Run ASDM.

If the Java is not properly configured or is not compatible the following window may show up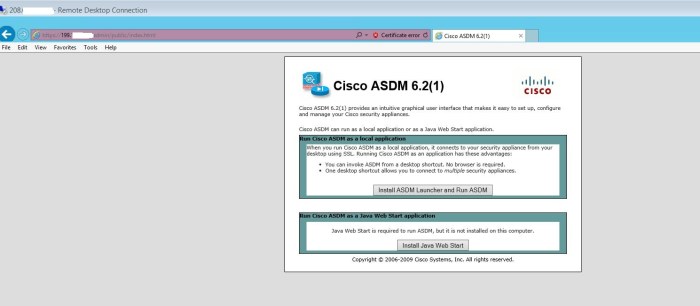
- Password and some other options can be changed under “Device Setup”

- Under “Device Management” we can configure that which IPs and through which services can access the device control panel.

- Under “Firewall” we can configure the access rules.

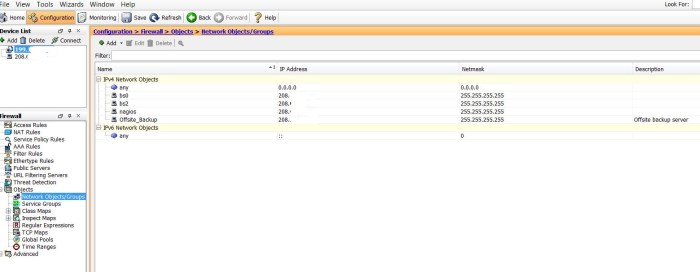
- We can define network objects to simplify referring to IP addresses.
- Service groups can also be defined as an alias to IP and port numbers.

- In simple cases we can define ports by giving them the names “inside” and “outside” which will set their security level accordingly. In more advance cases we can set security level for each port explicitly.

